Thursday, February 28, 2019

Kimberly Dress

I needed a new dress. No reason. Just sick of the ones I have. After looking at lots of patterns and fabrics, I finally settled on the Kimberly dress by Athina Kakau.

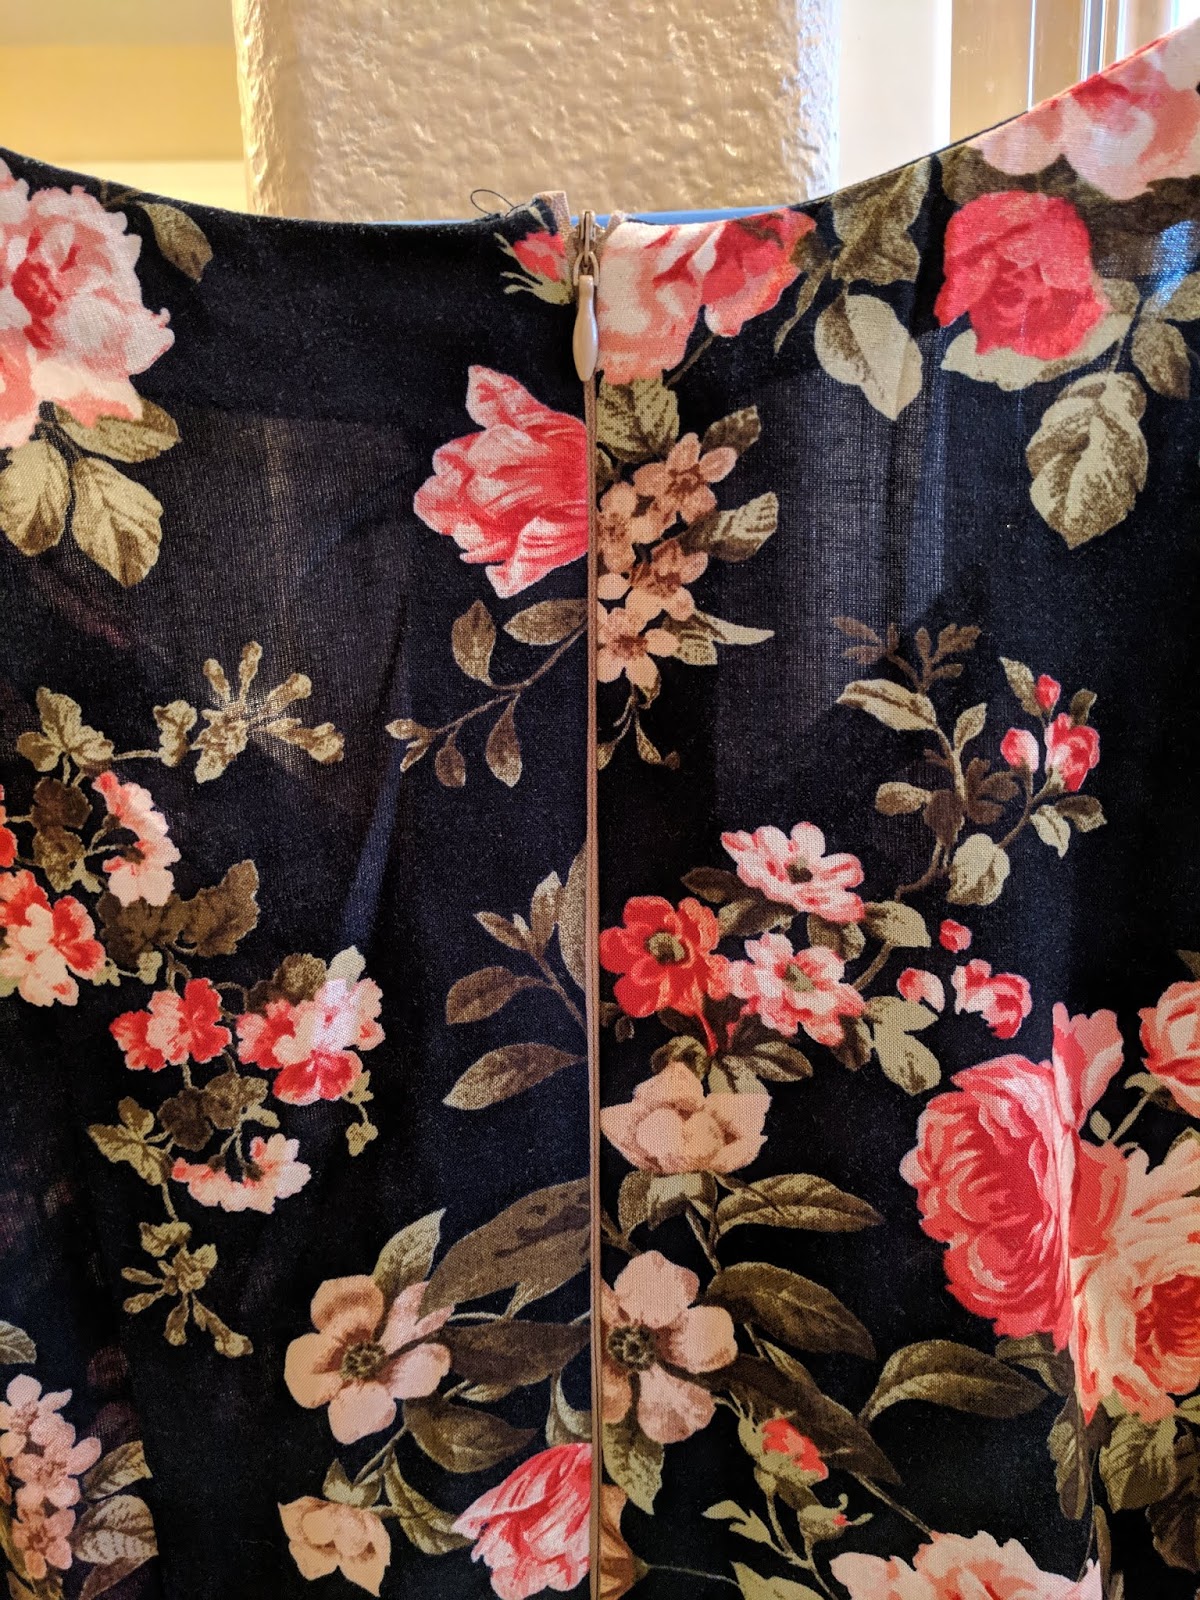
Based on my measurements I decided to size up at the waist and cut everything else a straight size. I ended up taking the waist in, so I should have just stuck with the one size. This dress has darts and an invisible zipper. I really liked her tip for the darts - she recommends pulling the bobbin thread through and tying a knot to secure the end of the dart. I think her directions for the zipper could have been more complete - I haven't done an invisible zipper in years! BUT - there are lots of great tutorials online that can help you through it. I used "How to sew an invisible zipper step by step by Angela Wolf". She tells you to sew REALLY close to the zipper teeth when you are sewing the second side. I thought I did - but I didn't realize HOW close. When she says to sew right next to the teeth, she means RIGHT NEXT TO THE TEETH! I had to unpick it to get a truly invisible zipper. However, in the end, I think it turned out really nicely!!


Some other things to be aware of....this pattern is not suitable for 42-45" wide fabric. It has to be the wider 56-60" fabric. Most woven fabric comes in the narrower width - so be careful! Otherwise you will wind up piecing a wider piece together to cut your skirt out. I didn't notice this, and got lucky when I bought my fabric.

I love the drape of the rayon I used. But I also knew I wanted to use a contrasting fabric for the hem band. I bought the beige linen I used as well as the sheer lace with the intent of double layering them and using them for the hem band. I got it all done and the lace made the hem band too stiff, I didn't like it at all. I unpicked the hem band and tried it with just the linen which I liked much better. I then used the lace to make the tie - I love it there!!


I wish that the pattern had given me help with how much contrast fabric I would need. I figured I would be able to make it from 1/2 yard fabric - but I was wrong. I had to make a second trip to JoAnn's to get more fabric. Luckily, they still had the same fabric. The hem band piece is basically a rectangle 56-60 inches long by 10.5 inches wide cut on grain. You cut two of these. You can piece it if you need to - so knowing that, if you want a contrasting band you should be able to figure out how much fabric you need. (2/3 yard if your fabric is wide enough - otherwise 1 - 1 1/3 yards)

Why do I learn everything the hard way?? I was leaving on a weekend trip to Arizona and really wanted to take this dress. All I had left to do was the tie - so I hurried and finished it and made it half the length it was meant to be (which meant it barely tied) and twice the width. I didn't realize this until I got to Arizona and went to wear the dress. I decided I liked the (unintentional) width of the tie, but I wanted it longer. Upon returning home I was able to unpick the end and add some more length to it.


It was raining when I was wearing the dress in Arizona - so no good pictures anyway!

Finally....The dress has POCKETS!!!! Gotta be excited about that!!

Saturday, February 23, 2019

My Journey back to garment sewing

I love plain long-sleeved t-shirts in the Winter. I love to pair them with sweaters, jackets, vests and scarves.  Here's a picture of me with my husband and a daughter and her husband in one of my old long-sleeved tees (one I can no longer wear....because it has holes in it....)


I had bought some ready-to-wear long-sleeved tees from Gap and Banana Republic and they had all wound up with little holes in the front around the waistband. I was getting so tired of buying shirts and having them wear out within a year or less that I was prepared to take drastic action!!

About the same time I was dealing with this frustration, I started noticing one of my friends posting lots of home-sewn clothing items. I remembered that I used to sew clothing, but I had gotten away from it. I'll discuss the reasons later...but all of my sewing of late had been mending, quilting (which I still love), altering clothing for my daughters (making it fit better, more modest, etc) and costumes for school plays. However, all my children are grown and gone (mostly - I still have the odd one home for a few months or weeks at a time - but they are mostly on their way out) and I was so inspired by my friend.

I also went to Dallas last year with my husband on a business trip. His cousin, Abi Ferrin, lives there and we went out to dinner with her. She has a fabulous line of designer clothing that she makes and sells from her studio and shop there in Dallas. She showed us around her studio and I also went and checked out her shop. She sells high-end designer ready to wear clothing, but her journey to this business was as a seamstress. More inspiration!!

These two women made me really want to get back to garment sewing. One of the problems I had 25 years ago when I was sewing was that I would pick out a pattern and get it sewn up and not really like how it looked on me. Some of this is learning how to pick fabrics, some of it is learning how to fit patterns and some of it is being able to know what a pattern looks like on your body type. I have LOVED LOVED LOVED following the sewing community on Instagram. It might be one of the best things to happen to home sewists. You can look at a hashtag for a certain pattern and see what that pattern looks like sewn up in all different types of fabric and on all different types of bodies. It really helps me to figure out what I like BEFORE I invest the money and time into a project. So, I started this blog and my sewing Instagram account in an effort to add to the resources for other sewists. Also, it's fun to be a part of this community and share what you make with people who appreciate it!!

So, introduce yourself! Comment! Help me find more patterns I will like! And be the inspiration for someone else - and thanks for welcoming me into the lovely online sewing community!!