When StyleMaker Fabrics got this fabric, it was love at first sight!


If you've read other posts on this blog, you know that I love Itch to Stitch patterns. Kinnis builds cup sizes into her patterns which means I don't have to do much in the way of modifications. However, when I use a new pattern, I always look around for blog posts by others who have used the pattern and see what they have to say about fit and possible creative ideas. I found this blog post by Heidi at Handmade Frenzy to be super helpful. She also wrote a blog post on the Itch to Stitch blog that has even more details.
In the original Montana Shirt pattern, you have to choose the tie option or a longer, but straight hem option. I liked that Heidi changed the bottom of the shirt so that she could wear it tied or out and I love a curved hem versus the straight hem in the pattern - so I did the same. I even added the side vent that she added.
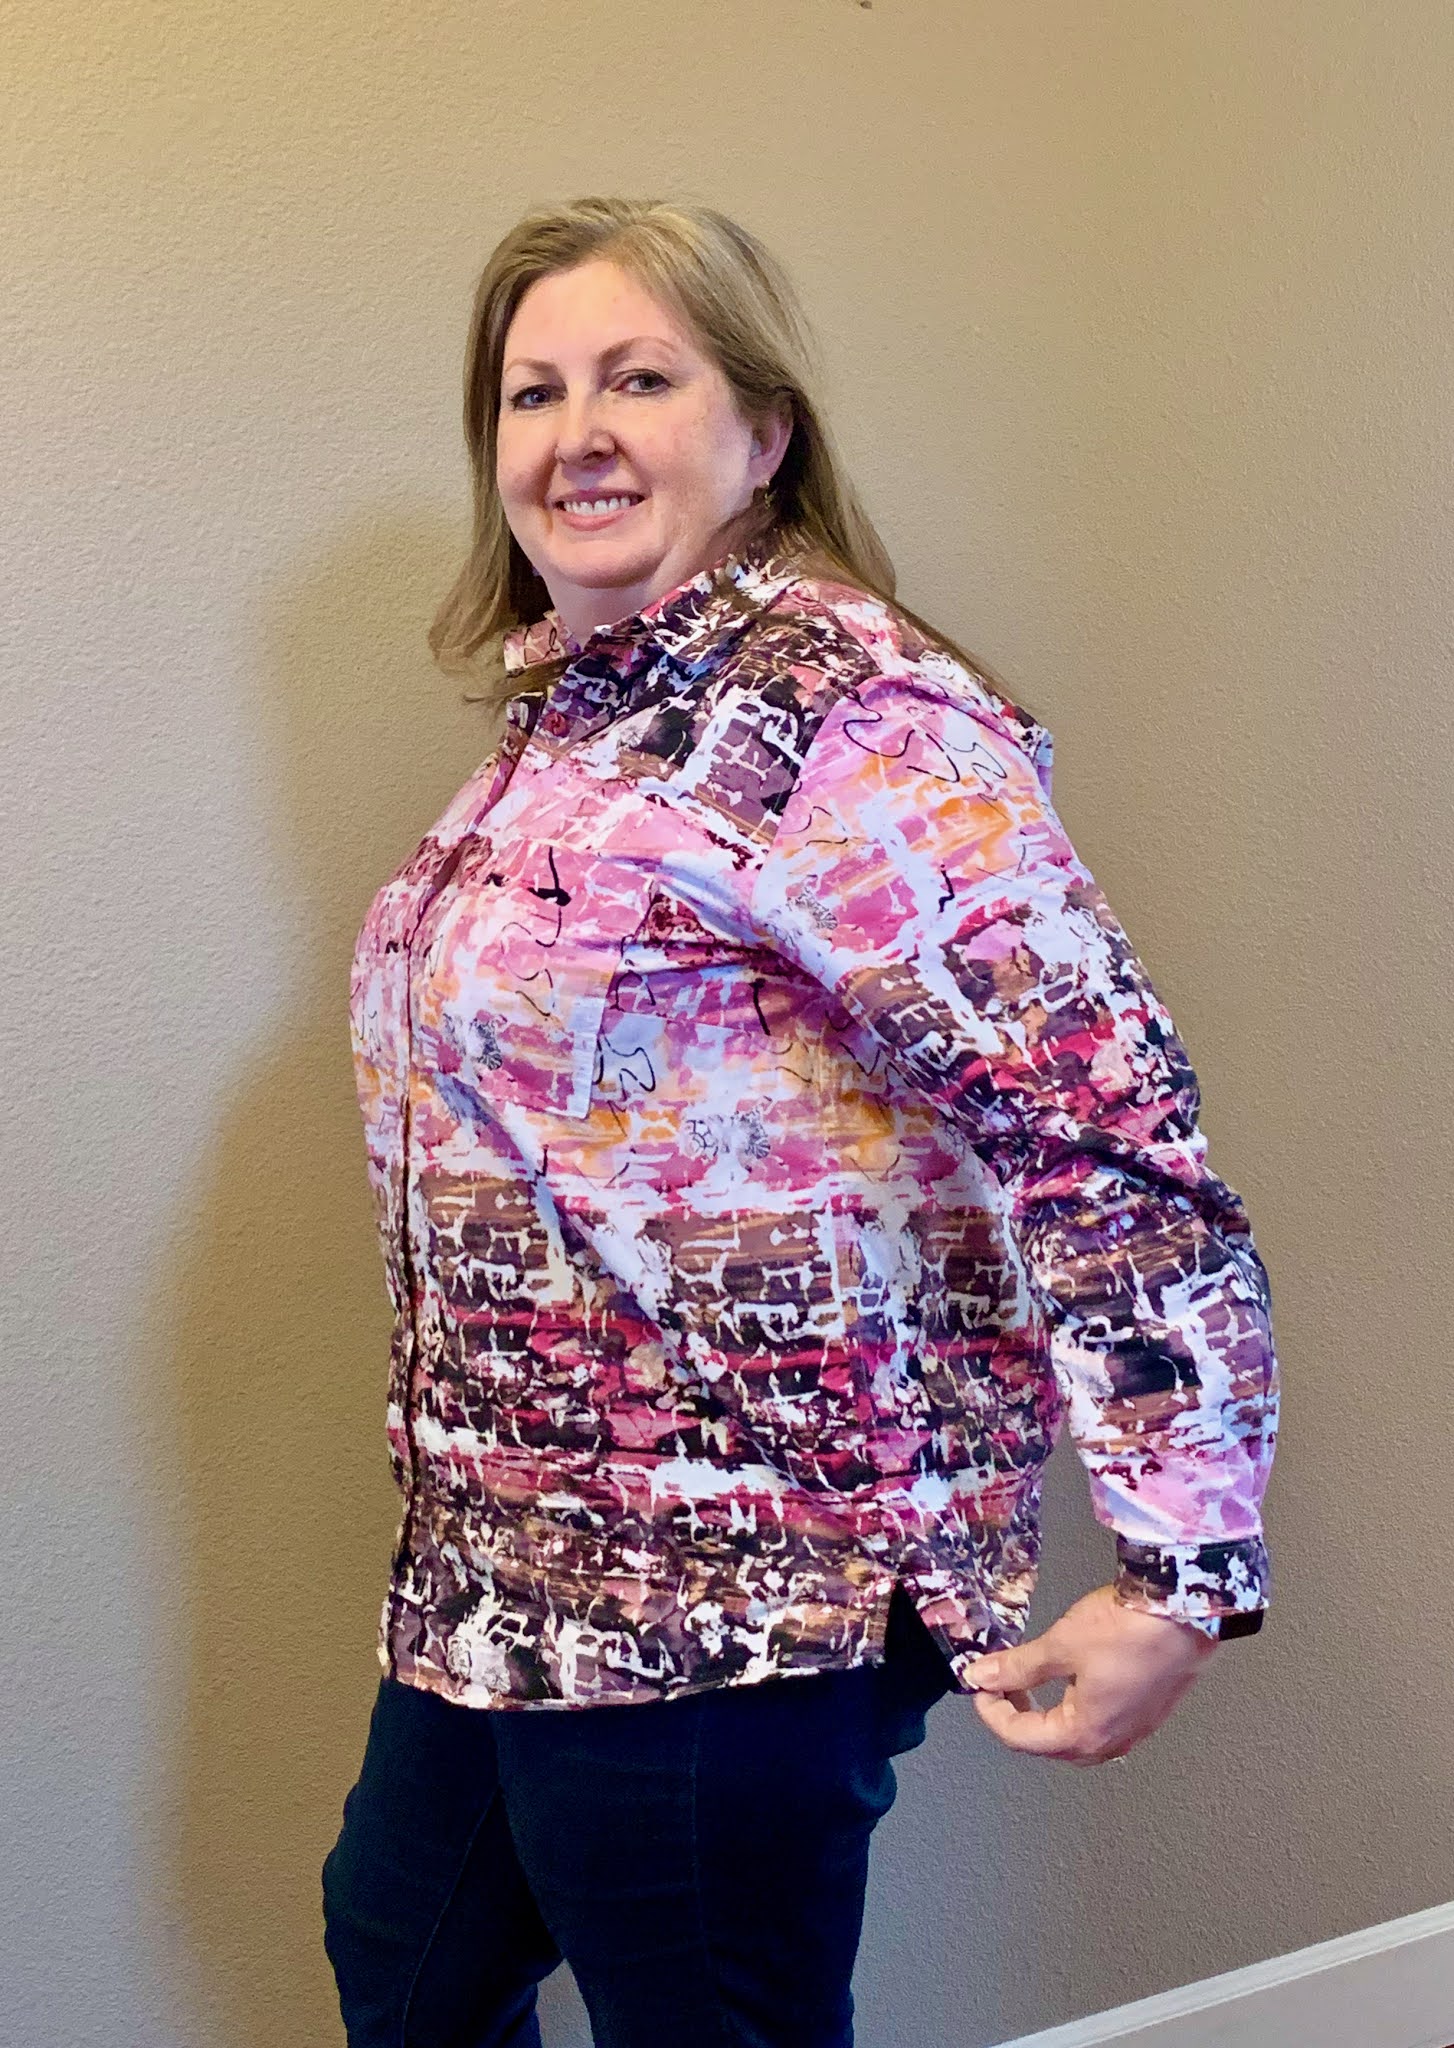
She also mentioned that she sized down because the shirt is meant to be oversized. I thought this was good advice and followed that as well. Even sizing down, the shirt is very roomy and baggy. I think it would make a great plaid flannel shirt.


Some notes on fabric. I should have ordered more of this. I think I ordered the fabric before I chose the pattern, either that or I looked at the amount for 60" wide fabric and this was 45" wide. As I thought about cutting, I had to pay attention to the fact that this fabric has some definite striping. First you want to consider the layout - so I draped the fabric over me to decide whether I wanted those stripes to run across my body or up and down - it's important to make deliberate choices about things like that!! Next I wanted to think about pattern matching - or how adjacent pieces would line up when sewn together. The pattern matching (which is good in the front - but the sleeves are not in line) was a little tricky because I was working with so little fabric. If I had had more fabric, I would have lined up the sleeves as well, but given my fabric constraints, I decided the sleeves were fine. One of the sleeves is already actually three pieces - I always vacillate between feeling a little bad about that and then telling myself I'm being resourceful!! Luckily, the fabric is so busy that you can't tell and I was very careful to make sure and choose the patches from the same color area of the fabric so I didn't get a bright pink patch in the middle of the brown.
In my post on the Bonn Shirt, I talked about button placement. One of the great things about sewing is that every project you learn things that you can apply to future projects. #NoSewingFails So, I definitely applied my new found button placement knowledge to this project. Don't use the placement guide. Put a button at the fullest bust point and then arrange the rest from there (unless you either don't have the problem of your shirts pulling or gaping at the buttons or you don't care....hey no judgment here!!).
In the end, I think I would have liked a more form fitting shirt for this fabric - but it still makes me happy every time I wear it and I learned a ton from the process. I had never done several of the techniques before, and I'm tempted to make this pattern again just to enjoy the process!!
