
I bought some scroll floral embroidered chambray shirting from Style Maker Fabrics (The one I bought is no longer available, but it's similar to this one) awhile back and it was begging to be made into this Bonn blouse from Itch to Stitch. I have made this shirt one other time - I posted about it on this blog and also on Minerva.com .
One of my favorite things about Itch to Stitch patterns are that they come in cup sizes. No more full bust adjustments!! However, as I've worn the last blouse, I have had a little trouble with gapping between the buttons. So...this time I decided to do my button placement differently. I placed a button right at the fullest part of my bust. Then I spaced buttons appropriately above and below. I also didn't worry about whether they were all equally distanced apart...and guess what? No one notices!! My buttons are spaced a little wider apart towards the bottom of the shirt and people only notice when I point it out to them. You COULD space them equally, but that would require more buttons if you want really good closure on top - and I hadn't thought of that at this point. For me, I'd rather have the closure where I need it. In the future I will probably buy extra buttons so that I have the option to make them all a little closer together - but I'm not scared of spacing them out how I need them. If you look closely in the picture below, you can see how I spaced them on this shirt.
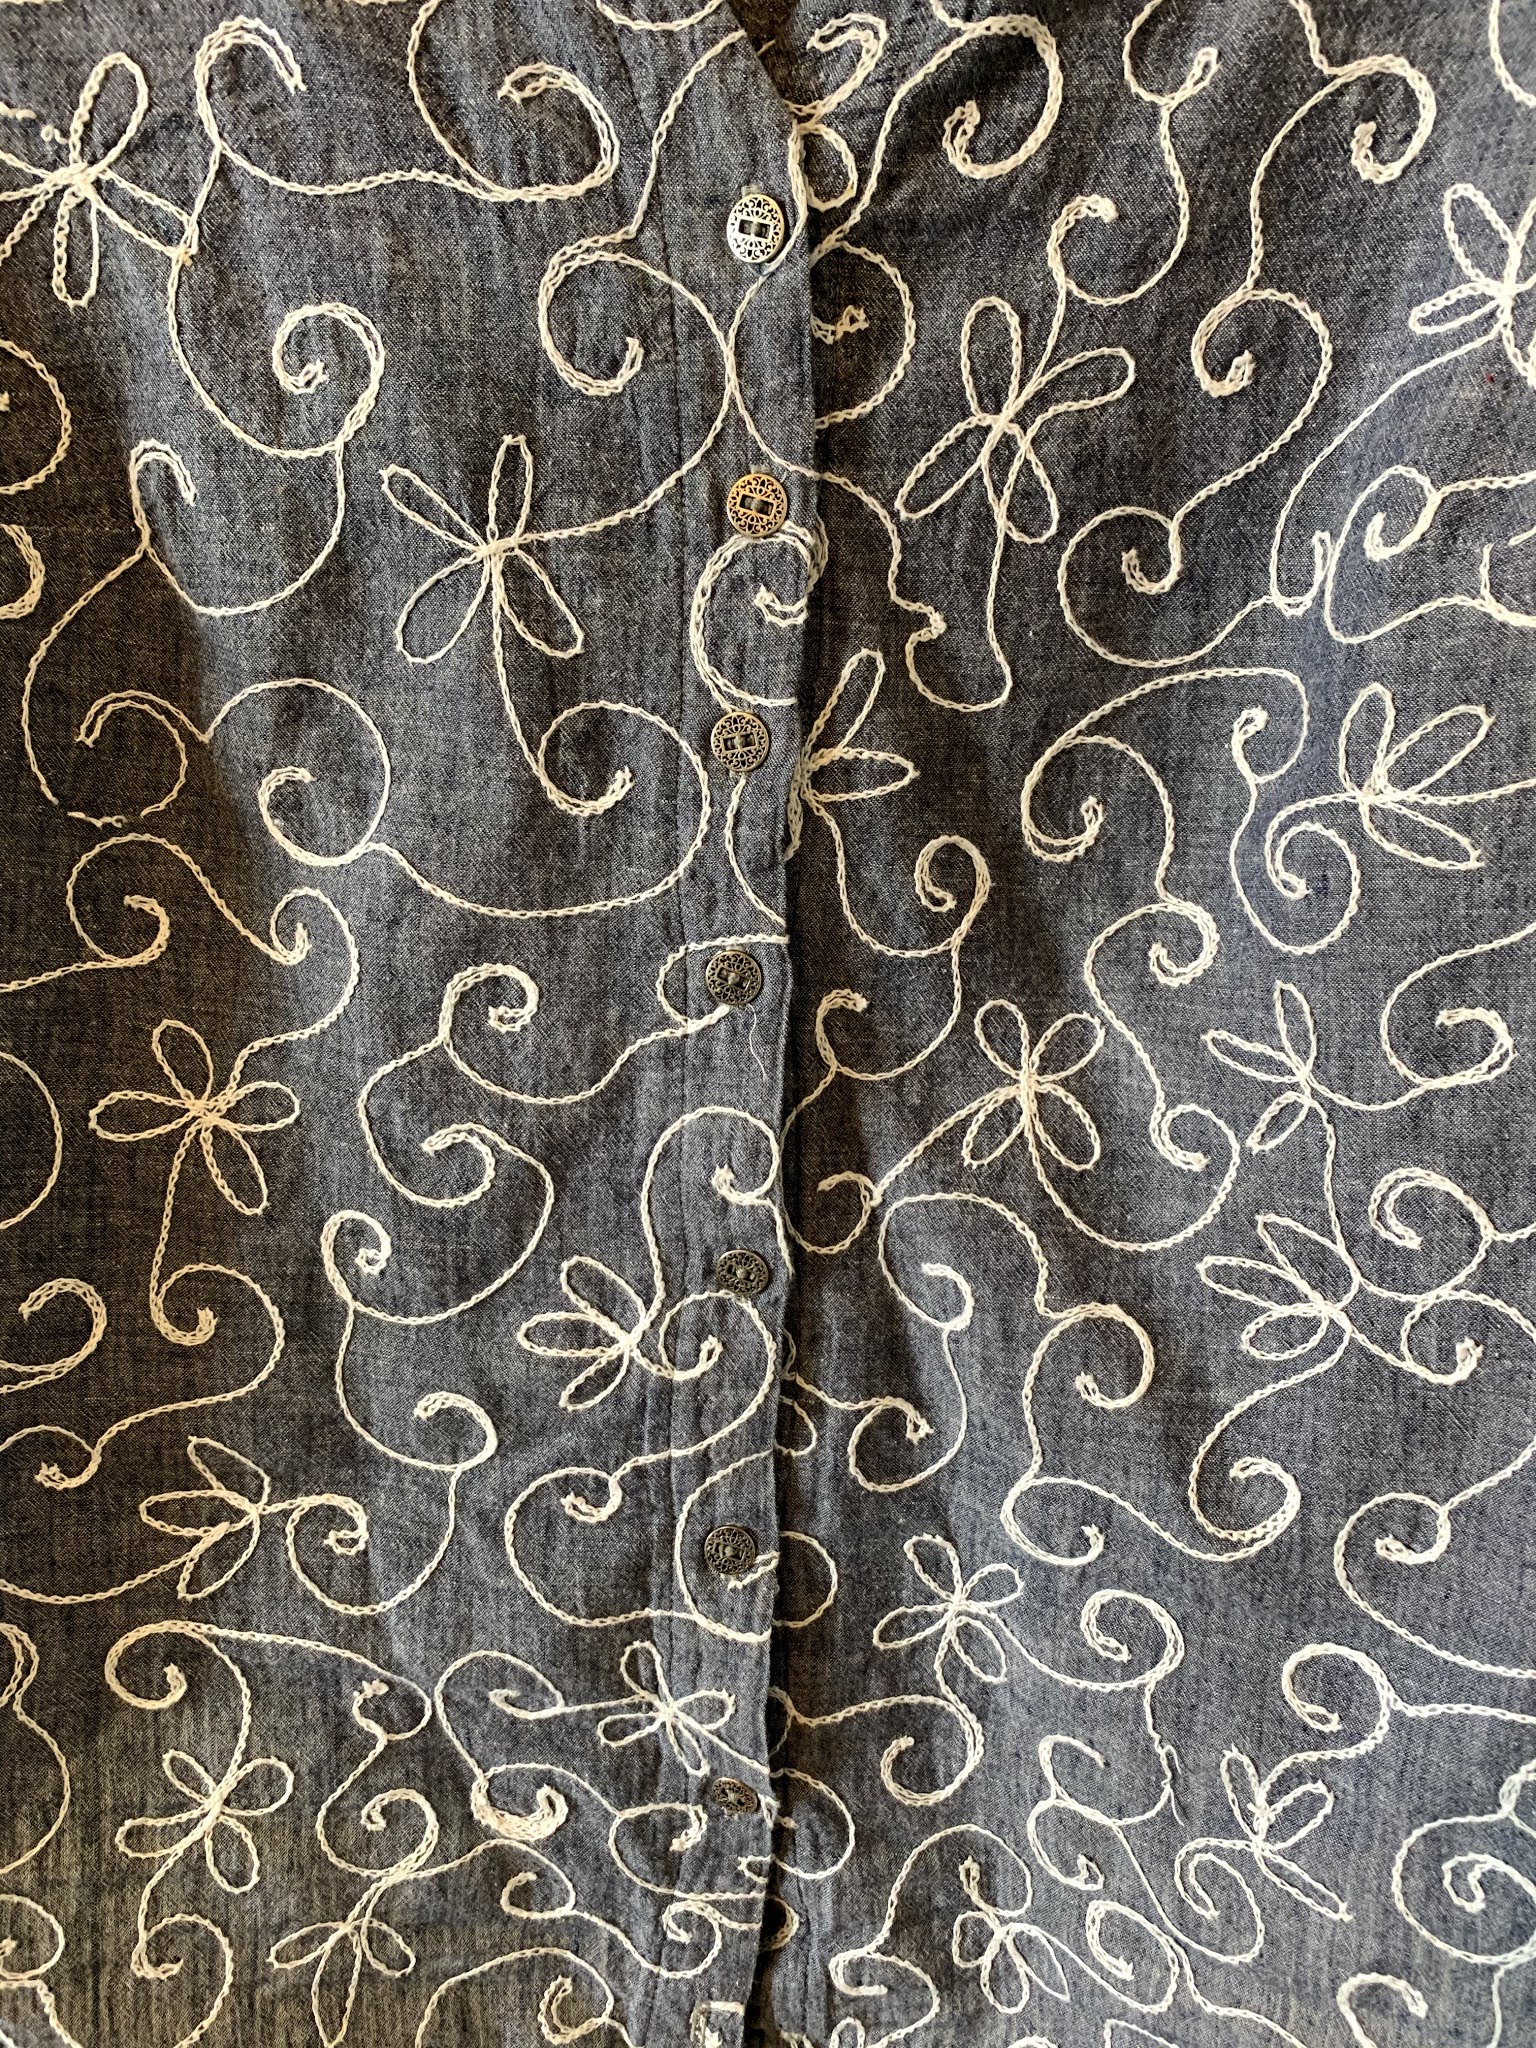
While we are talking about buttons - let's talk about the button holes. My machine has a foot that you put the button in and then it usually makes the button hole the perfect size for the button. These buttons however are very very thin. That means that the button hole made by my machine was TOO BIG for these buttons. Always always always make a trial button hole and test your button in it!! I wound up having to find a smaller button to put in my button hole foot so that it would make the perfect sized button hole for these buttons.
Finally, I always measure my arms when I am making shirts, as that seems to be a place I wind up finding things fitting too tightly. In this case, I added an inch to the sleeve bands at the bottom of the sleeves. This means that the bottom of the sleeve is not as gathered as intended. If I make this shirt again, I will add a little more fullness to the bottom of the sleeve so I can get a little more gathering at the bottom without having too tight sleeves.
All in all, I have loved wearing this shirt! I might have to try the dress version next!!


No comments:
Post a Comment